DIY Guide: How to Sew a Reusable Fabric Mask at Home

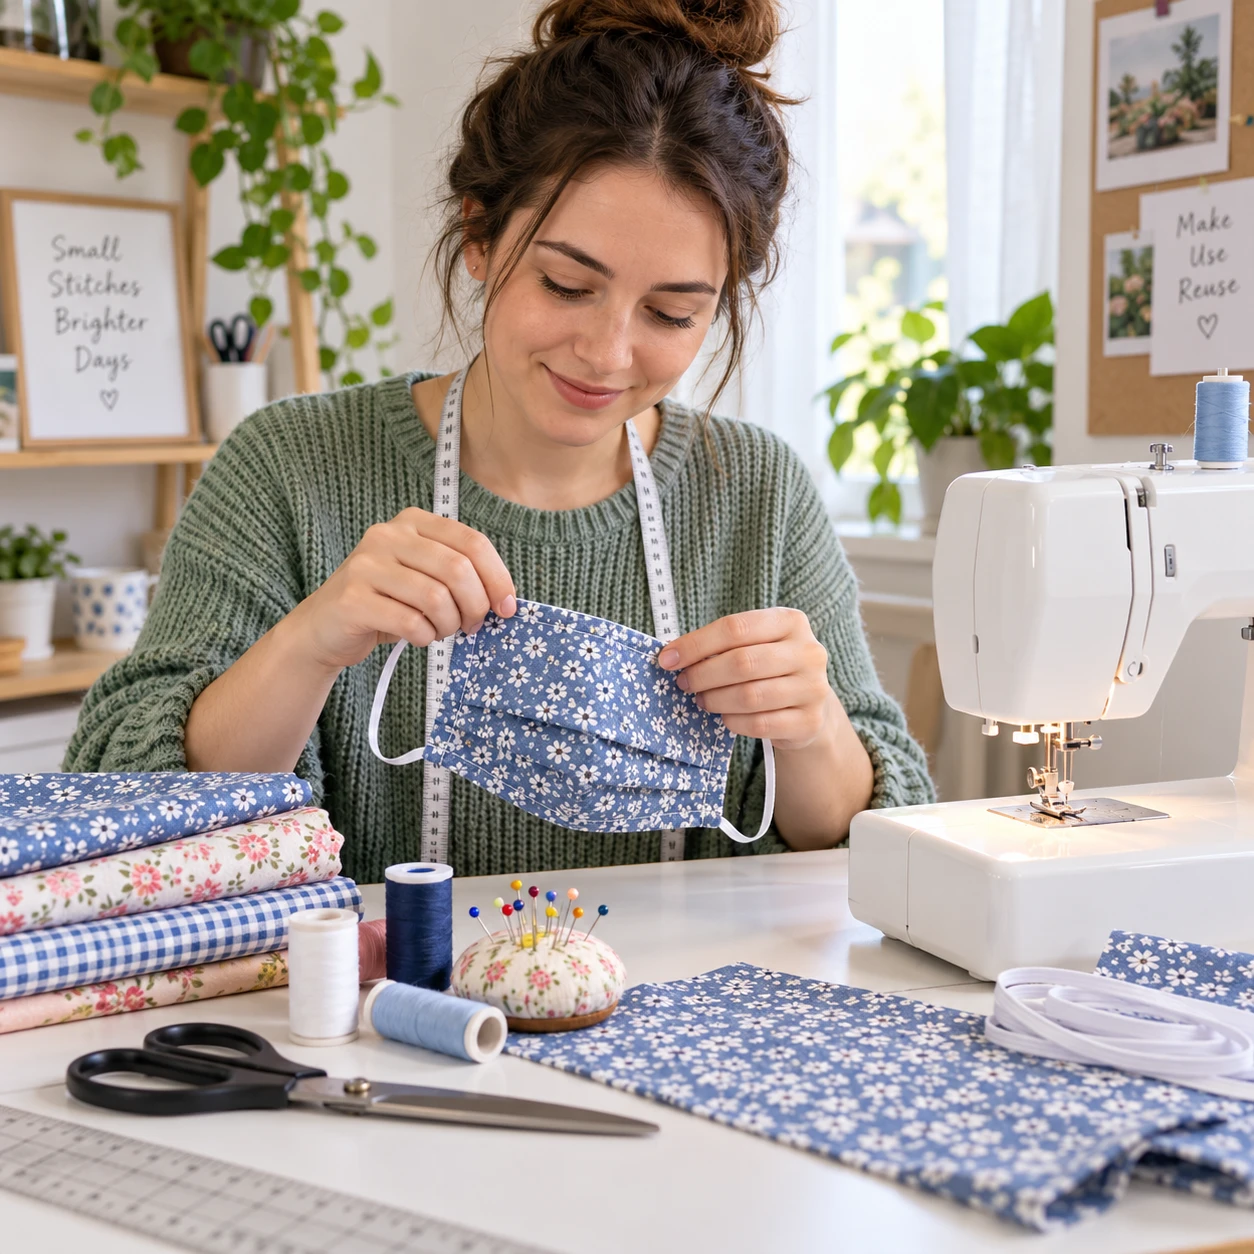
A reusable fabric mask is a practical sewing project for using washable fabric and building a simple non-medical face covering at home. With a basic pattern, a few supplies, and careful fitting, a beginner can make one by machine or hand.
Homemade fabric coverings are not medical-grade protective equipment. Their role and suitability can vary by situation, so follow current public-health guidance and any workplace or local requirements. A comfortable fit and routine washing matter, but a fabric mask should not be treated as a substitute for professional advice or other recommended precautions.
What to know before you begin
A homemade reusable fabric mask is a non-medical face covering, and it should fit securely while remaining comfortable enough to wear. It does not provide a guaranteed level of protection, so use it only where a non-medical covering is appropriate.
Plan for the covering to sit over your nose and mouth, with the edges close to your face and no large gaps. A mask that slips, pinches, or makes breathing uncomfortable is unlikely to be worn properly. Fit depends on the pattern, face shape, and how the elastic or ties are adjusted.
Choose washable materials and make more than one if you expect to wear a covering regularly. That gives you a clean spare while the used one is waiting to be washed and dried. Keep clean and used masks separate, and wash your hands before handling a clean one.
Keep expectations realistic: sewing skill, fabric choice, and a snug fit do not turn a homemade covering into medical equipment. Check applicable guidance for your circumstances before relying on one.
Gather fabric and sewing supplies
To make a basic fabric mask, gather washable cotton fabric, thread, a pattern, scissors, pins or clips, and either elastic or fabric ties. A sewing machine makes the seams quicker, but hand sewing works too.
For a beginner-friendly project, use tightly woven, prewashed cotton that feels comfortable against the face. Avoid fabric that is scratchy, heavily textured, damaged, or difficult to breathe through. A lightweight cotton is easier to sew than thick canvas or multiple bulky layers, while fabric that is too thin may wear quickly. Fabric and construction alone cannot establish a medical protection rating.
- Fabric: enough cotton for the pattern’s outer and lining pieces, with extra for test cuts.
- Fasteners: soft elastic for ear loops, or cotton strips for ties that fasten behind the head.
- Tools: matching thread, fabric scissors, pins or clips, ruler, and an iron if available.
- Optional nose bridge: a removable, washable channel can hold a flexible insert, but the insert must be removed before laundering if it is not washable.
Prewash the fabric using the care method you intend to use later, then dry and press it. This helps limit shrinkage after construction. If a nose bridge is included, avoid sharp or brittle materials, and make sure no wire end can poke through the fabric.
Choose a pattern and prepare the fabric
Choose a simple mask pattern with clear sizing and instructions for either ear loops or ties. Check its finished measurements against your face rather than assuming one size fits everyone.
A flat, pleated pattern is often straightforward for a first project; a shaped pattern may contour more closely but can take extra care to sew accurately. Use a pattern intended for a non-medical fabric face covering, and follow its stated seam allowance and cutting layout. Do not combine dimensions from different patterns unless you are comfortable adjusting the fit.
Before cutting, measure the pattern pieces and confirm which side is the outer fabric and which is the lining. Place the pattern on fabric laid flat, align any grainline indicated, and secure it with pins or weights. Mark notches and the seam allowance if the pattern does not include them.
Cut slowly with sharp scissors. If you are unsure about sizing, make a paper mock-up or baste the fabric pieces together with long temporary stitches. This small test can reveal a coverage problem before you spend time finishing seams.
Sew your mask step by step
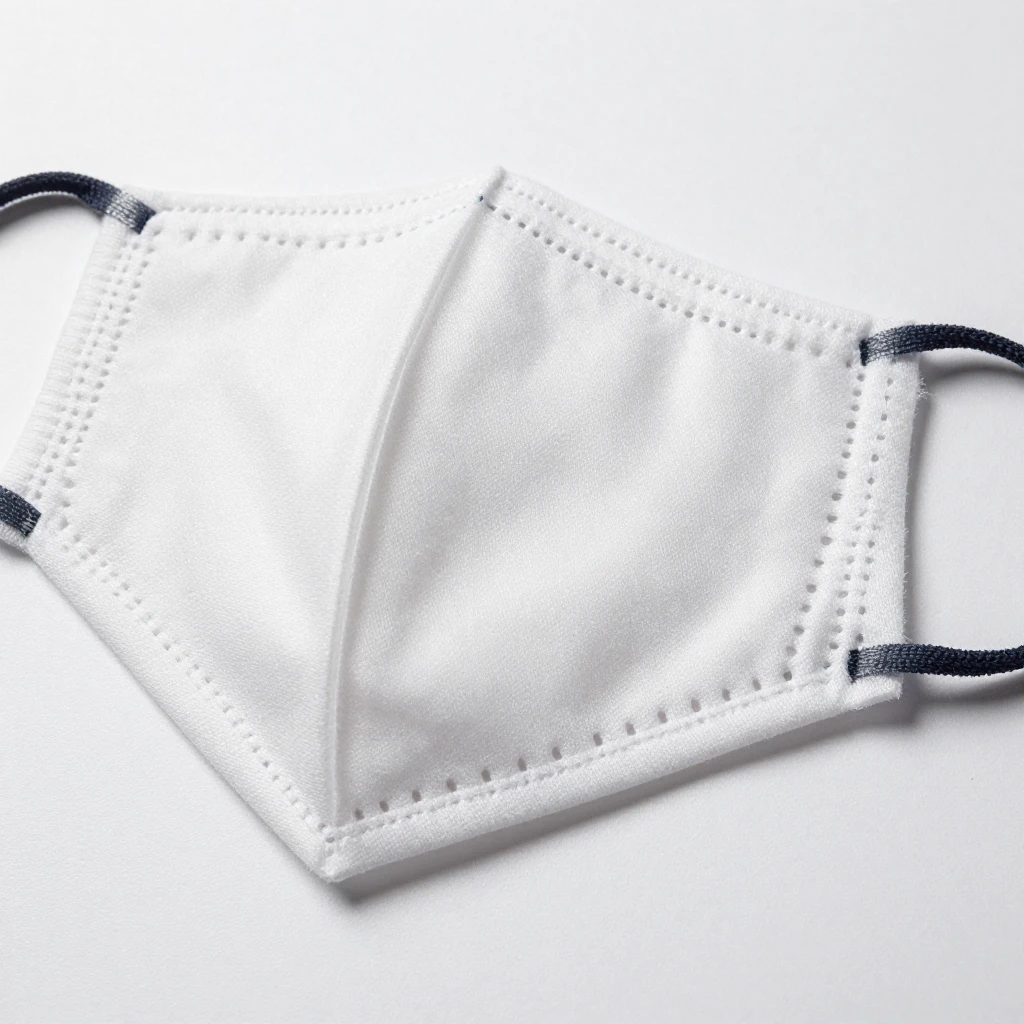
To sew a basic reusable mask, join the outer and lining pieces, attach the fasteners, then turn and finish the edges. Follow the pattern’s measurements if they differ from these general steps.
- Prepare the pieces. Place the outer and lining fabric right sides together, if your pattern uses separate layers. Pin or clip the edges and mark an opening for turning if needed.
- Sew the main seams. Stitch along the pattern’s specified edges, keeping the seam allowance even. Use short, secure backstitches at the start and end; by hand, make small, consistent stitches.
- Add the fasteners. For ear loops, place one end of each elastic piece at the side seam, with the loop tucked between fabric layers. For ties, position a tie at each corner or use a pattern with side channels. Check that the loops or ties are not twisted.
- Turn and press. Turn the mask right side out through the opening or an unfinished edge. Ease out the corners gently, then press the seams without flattening any nose-bridge channel.
- Close and topstitch. Fold the opening’s raw edges inward and stitch it closed. Topstitch around the perimeter if the pattern calls for it, keeping fingers clear of the needle.
If your design includes a nose bridge, sew a channel along the top edge and insert the flexible piece only after the mask is finished. Leave an opening to remove it before washing. A bridge may help the top edge sit closer, but it is optional and does not make the covering medical-grade.
Machine sewing is faster and usually creates even seams. Hand sewing takes longer, but a neat backstitch is sturdy enough for a simple project. In either case, reinforce stress points where the elastic or ties meet the mask.
Check the fit and make simple adjustments
A well-fitting fabric mask covers the nose and mouth, stays in place during ordinary movement, and feels comfortable without pulling hard on the ears or head. Check the fit before wearing it for an extended period.
Try it on with clean hands. Look for gaps at the nose, cheeks, and chin, and make sure the covering does not slide when you speak or turn your head. It should not obstruct vision or make breathing feel uncomfortable. If it does, remove it and reassess the size, shape, or suitability for your needs.
- Ear loops feel loose: shorten them with a small knot or adjuster, then check that the knot cannot irritate your skin.
- Ear loops pull: lengthen them if possible, or remake the mask with fabric ties that distribute pressure behind the head.
- The mask gaps at the sides: try a different pattern size or shape rather than simply tightening the fasteners until the fabric strains.
- The nose edge lifts: check that the top edge is oriented correctly and consider a pattern with a shaped seam or optional nose bridge channel.
Fit is personal. A design that suits one family member may not suit another, so make and test each mask for its intended wearer rather than treating the pattern as a universal size.
Wash, dry, and reuse your mask
Wash a reusable fabric mask after use, dry it completely, and inspect it before wearing it again. Follow the fabric and elastic care instructions, since heat and repeated laundering can cause shrinkage or wear.
Use detergent and a washing method appropriate for the material. A mask can be washed with other laundry when the fabric’s care instructions allow it. Dry it fully before storage; a damp covering should not be put away as clean and ready to wear. If the mask has a removable nose bridge, take it out first unless its manufacturer confirms it can be washed safely.
After laundering, check for loose seams, stretched elastic, thinning fabric, persistent stains, or a shape that no longer sits securely. Repair a small seam issue before the next use. Replace the covering when it is damaged, no longer fits, or cannot be cleaned adequately. Keep a clean mask in a clean, dry bag or container, separate from used items.
Reusable masks can reduce reliance on single-use coverings when they are appropriate and cared for, but they still use water, detergent, and energy. Washing full loads when practical and repairing small defects can make reuse more resource-conscious. Do not keep using a worn mask solely to avoid waste.
Frequently asked questions
Can I sew a fabric mask by hand?
Yes. Use a small, even backstitch for the main seams and reinforce the points where ties or elastic attach. Hand sewing takes longer than using a machine, so check each seam for gaps before wearing the finished mask.
What fabric is suitable for a reusable mask?
Prewashed, tightly woven cotton is a practical choice for a washable non-medical covering because it is familiar to sew and generally comfortable against the face. Avoid damaged or irritating fabric, and follow the pattern’s material guidance.
How should I wash a fabric mask?
Wash it with detergent according to the fabric’s care label, remove any non-washable nose insert first, and dry it completely. Inspect the seams, fabric, and fasteners after washing.
Is a homemade fabric mask medical protective equipment?
No. A homemade reusable fabric mask is a non-medical face covering, not medical-grade protective equipment. Follow current public-health guidance and any requirements that apply to your setting.